Menu
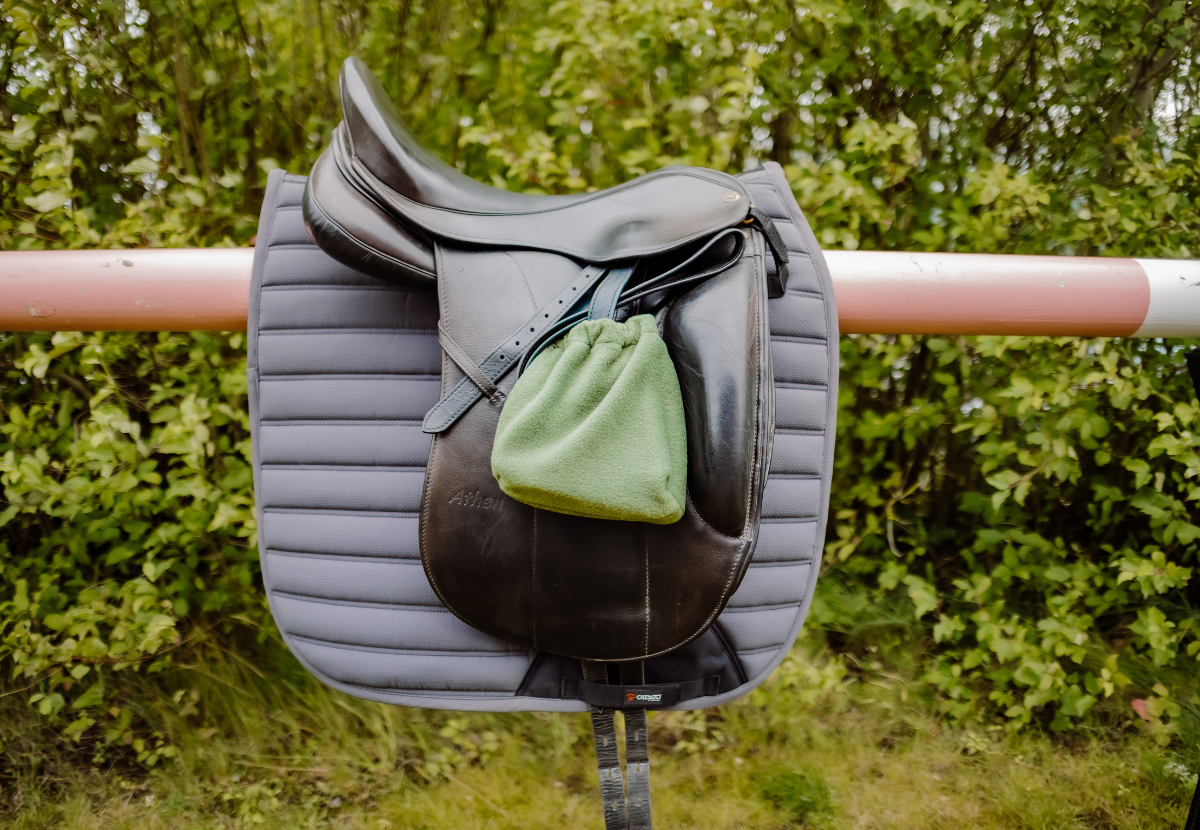
Are you crafty with a sewing machine, would you like to save a little bit of money, and do you maybe want a specific color or fabric? If so, fashioning your own DIY stirrup covers might be a perfect choice.
Protecting your equestrian gear so it stays in good condition and extending its longevity is particularly important when it comes to your saddle. Stirrups, especially ones with little spikes for better grip, can potentially damage your saddle if you pull the stirrups up after riding. Addressing this concern, there is a cost-effective and engaging solution, and Malgré Tout presents a crafted template for you to get creative and sew your own stirrup covers.
Maybe you can find some leftover fabric in the cupboards, or an old blanket, or head to your craft store and pick the fabric that suits your equestrian colors best. A tip is to use fleece or other thick fabric as it helps with cushioning. You will also need thread; either pick the same color as the fabric or if you are less picky, you can use whichever is on the sewing machine already. Then you will need scissors, measuring tape, a safety pin, elastic, a pen, and a sewing machine.
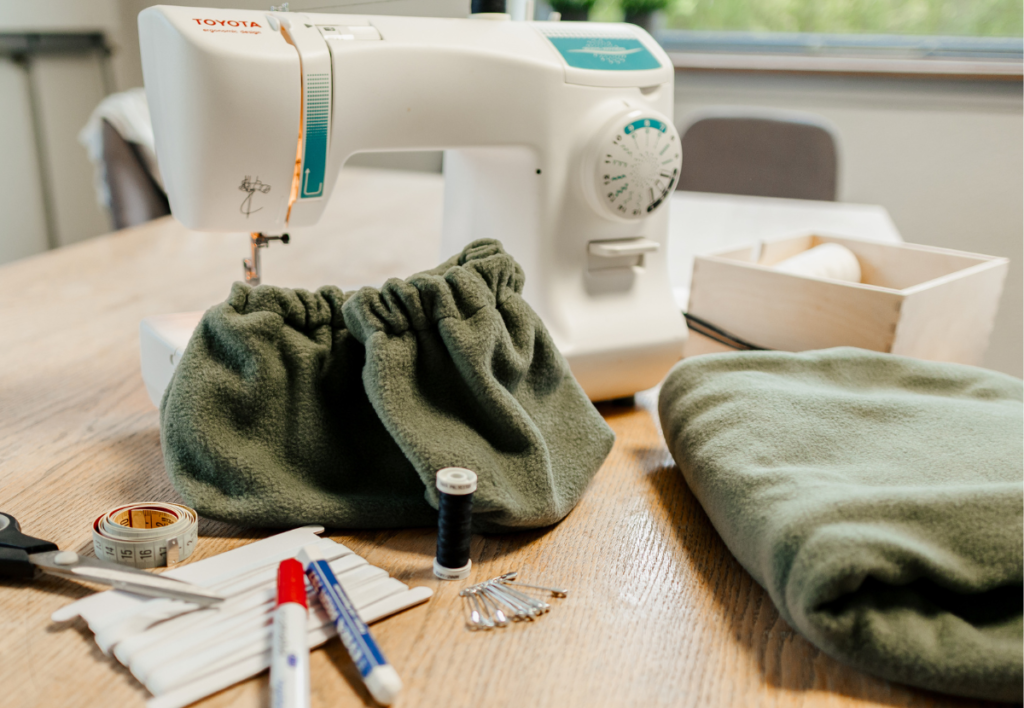
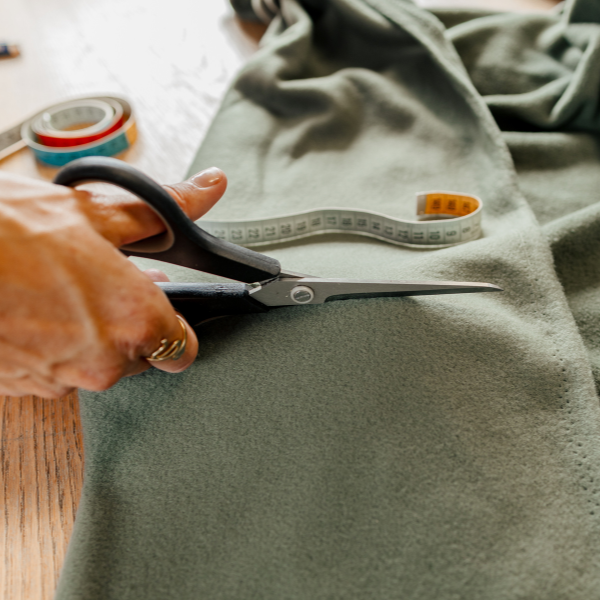
You can use your own stirrups to measure with, as they may vary in size, and remember to add sewing space. If you are not picky, our measurements will suit most stirrups. Fold the fabric in half and cut out a 26 by 24 centimeters square. This way, you will not need to sew the last side.
As the heading says, you just need to sow the bottom and the side, leaving the top open. Remember to go back and forward at the end to tie up the end so the stitching does not come undone.
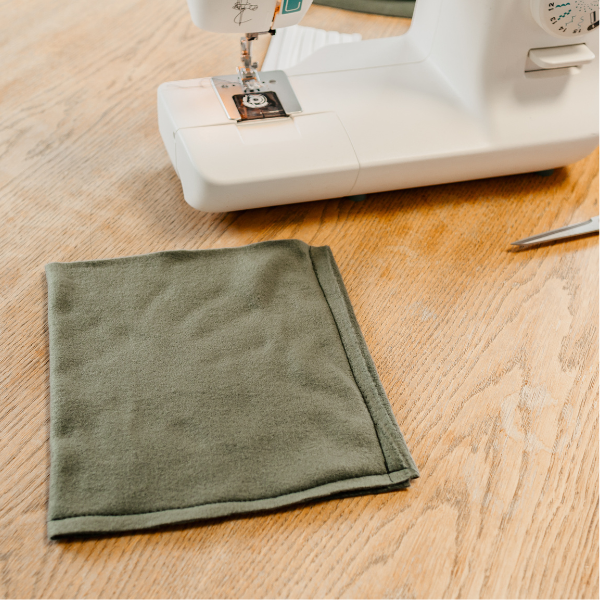
Now you have something similar to a bag with an opening at the top. Make sure it is still inside out. Now fold little triangles at the bottom of each corner, diagonal to how the fabric is folded. Stich here and it will make the bottom wider.
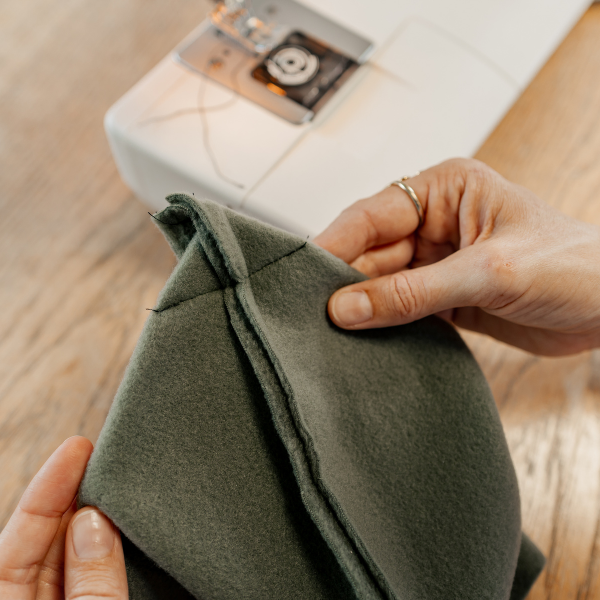
Fold the top down by 4 centimeters the whole way around the top. This can get a little tight if your sewing machine does not allow much space, especially if you have thick fabric like fleece, but do not worry, it is durable. Stitch a hem along the top edge, but ensure you leave a gap of approximately 3-4 centimeters. This space is reserved for threading the elastic through.
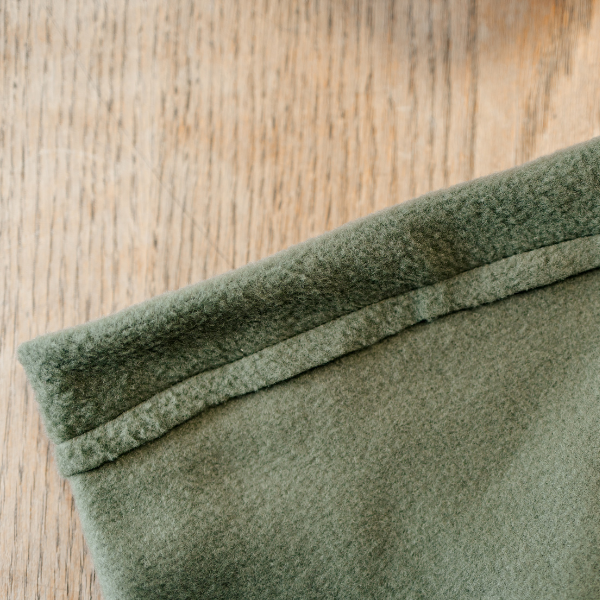
Measure out 28 centimeters of elastic and draw a line with a pen, do not cut it yet. Depending on how bulgy your stirrups are - if they are slim, do a bit less, like 25 centimeters. Put the safety pin at the free end of the elastic and pull through the hem. Once you have both ends, cut the elastic where you marked it with your pen. Hold on to both ends or join them with the safety pin.
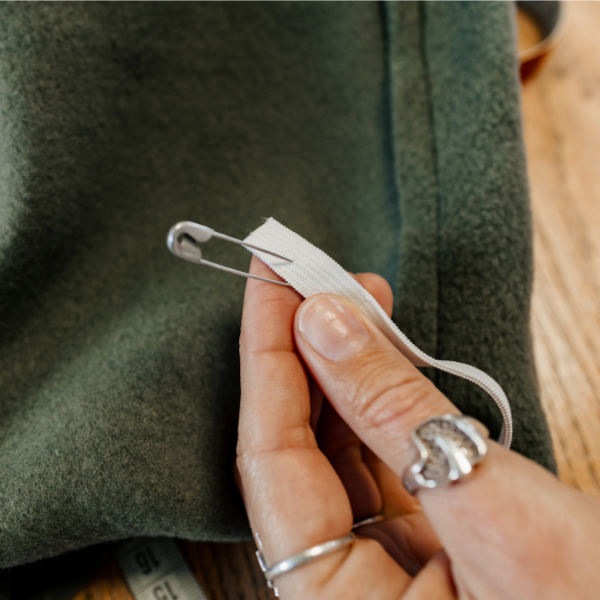
This is the most challenging part of the project but also the last. Pull the elastic in both ends so that the fabric is crunched up. Join the two ends of the elastic and sow a cross pattern on it. Then let it slip through the little hole and sew it up so you no longer can see or touch the elastic.
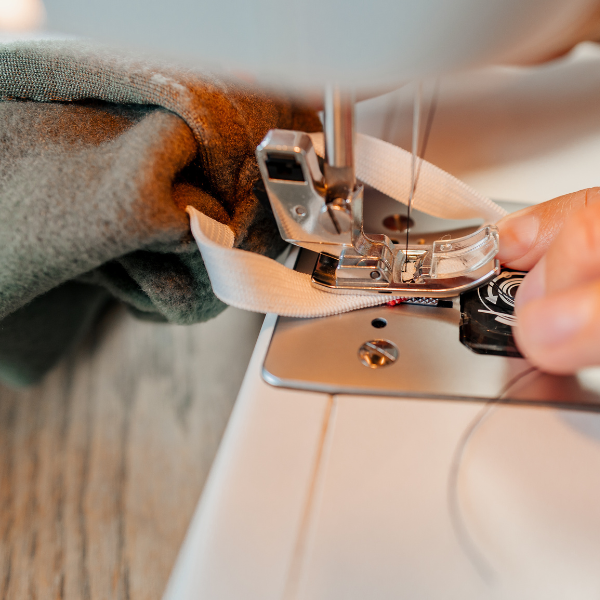
Turn the fabric inside out to complete one stirrup cover. Now, just repeat the process for the second cover.
We hope you can use this recipe, and it is also a great gift idea, especially if you want to provide a personalized gift.